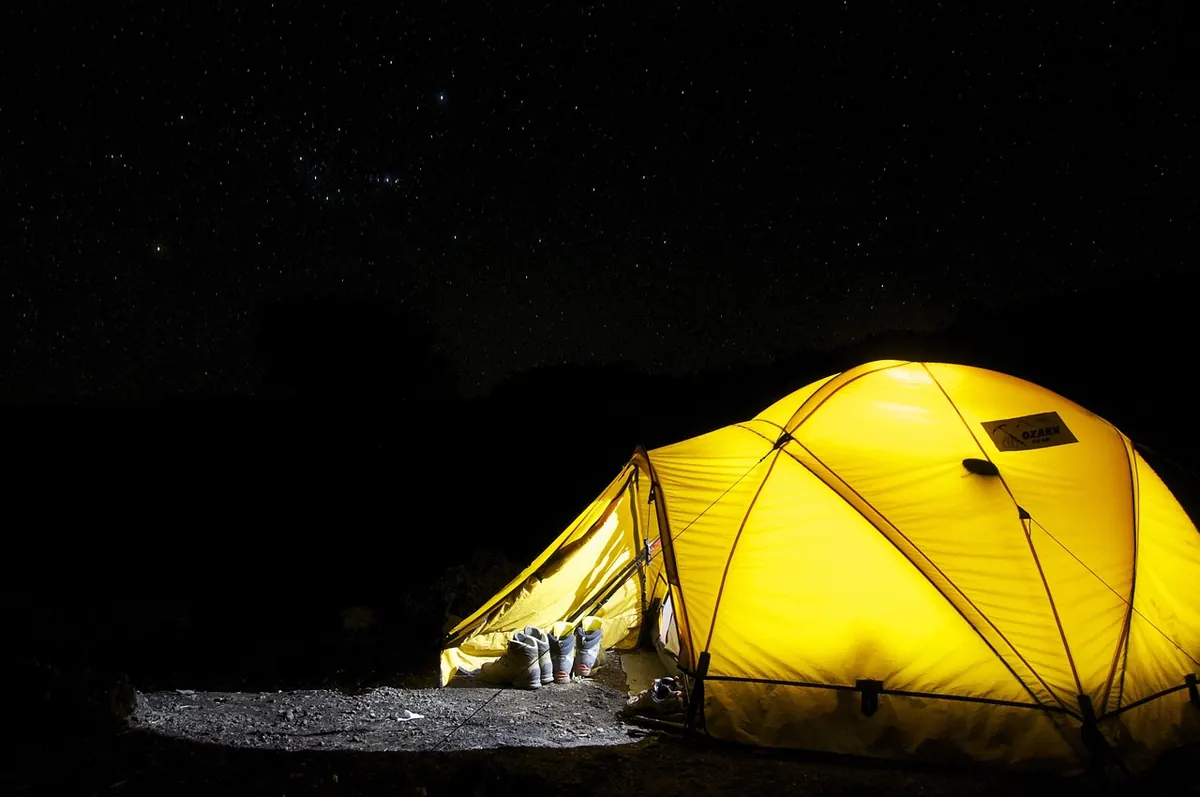
A lantern that dies on night two is rarely a bad lantern. It is usually a lantern being asked to do more than it was built for, or one that arrived at camp with a battery pack that was already half spent. The annoying part is how small those drains are — a habit here, a storage shortcut there — and how quickly they add up. Fix the habits and the same light that quit at midnight will still be glowing when you pack up on Sunday morning.
Bright mode is a treat, not a default. On most lanterns the top setting draws several times the current of the medium or low setting, which is why a spec sheet might promise a run time measured in single-digit hours on turbo and dozens of hours on low. You rarely need that much light. Around a campfire, a dimmer lantern keeps your night vision intact and still lets you find your mug without knocking it over.
Try these instead of reaching for maximum output:
Some lanterns are built for this. Most are not. If yours runs from dusk until dawn at a mid setting, expect to swap or recharge cells far more often than the packaging suggests. If you like a little light while you sleep, drop to the lowest mode and hang it low, or use a model with a timer or dusk-to-dawn setting that shuts off on its own.
A motion-sensing or touch-dimmer lantern earns its keep here: light when you reach for it, darkness the rest of the night. Without those features, a tiny dedicated night light with its own cell costs far less to run than a full-size lantern used as a lamp.
Cold slows the chemical reaction inside every battery, and alkaline cells suffer most. A lantern that runs comfortably for hours indoors can fade well before its usual run time on a frosty morning, which is why winter campers blame their gear for something the temperature did.
A mismatched pack discharges unevenly. The stronger cell pushes current through the weaker one, which heats up, drops voltage and sometimes leaks. The lantern dims early, and the lantern gets blamed.
The rule is simple: replace the whole set at once, with the same brand, the same type and ideally the same age, and never combine alkaline with lithium or rechargeable with disposable. Keep rechargeables in matched sets, mark them with tape or a marker, and rotate which set goes in first. If you own a cheap battery tester, check cells before a trip instead of discovering the weak one by flashlight.
A lantern sitting in a gear bin for eight months with cells inside is quietly draining them. Electronic switches, indicator LEDs and charge circuits pull a trickle even when the light is off. Alkalines can also leak, and dried electrolyte on a spring is a permanent problem, not a temporary one.
Heat is the real enemy of a rechargeable pack, so charging in a sun-baked car or a stuffy tent does quiet damage over time. Unplug when the indicator says full instead of leaving it connected overnight for days. Charge at room temperature when you can, and never plug in a wet lantern — dry the port first, especially after a rain-soaked trip.
Two smaller culprits live here as well. A frayed or bargain-bin cable can charge slowly or stop early, which looks exactly like a failing battery. And draining a lithium pack to zero on purpose, out of an old habit from nickel batteries, buys you nothing; partial top-ups are fine and easier on the cells.
Resistance at the contacts wastes power as heat. If your lantern dims when you tap it, or only works after a twist of the cap, the problem is usually contact rather than capacity. Clean the springs and the battery cap, check that the spring has not flattened out — a gentle bend restores tension — and look for moisture inside the compartment.
Then check the switch. Soft-touch buttons on electronic lanterns sometimes sit in standby and drain slowly, and a lantern that switches on inside a pack will be dead by the trailhead. Use the lock function if your model has one. If it does not, a slip of card between the cell and the contact does the same job. On lanterns with a rotary dial, turn it fully past the click to the off position rather than stopping at the dimmest setting.
Fresh matched cells or a full charge, clean contacts, a switch that is genuinely off, and a plan for where the light will hang. That is most of it. Keep the spare set warm in cold weather, drop to low mode once dinner is cleared away, and empty the compartment when the season ends.
Do those few things and you will spend your evenings looking at the stars instead of shaking a lantern and listening for the dim click that means the night is about to get darker.
Photo: bhossfeld / Pixabay

A practical checklist for lakeside lantern releases: permits, biodegradable materials, written wind limits, launch...
Lumens, kelvins and CRI decide how bright a lantern feels, what color its light casts, and whether you can tell red...

Rust on an old lantern is usually surface damage, not a death sentence. Here's how to clean, polish and reseal one...


Bright ideas and beautiful lanterns for every space..
