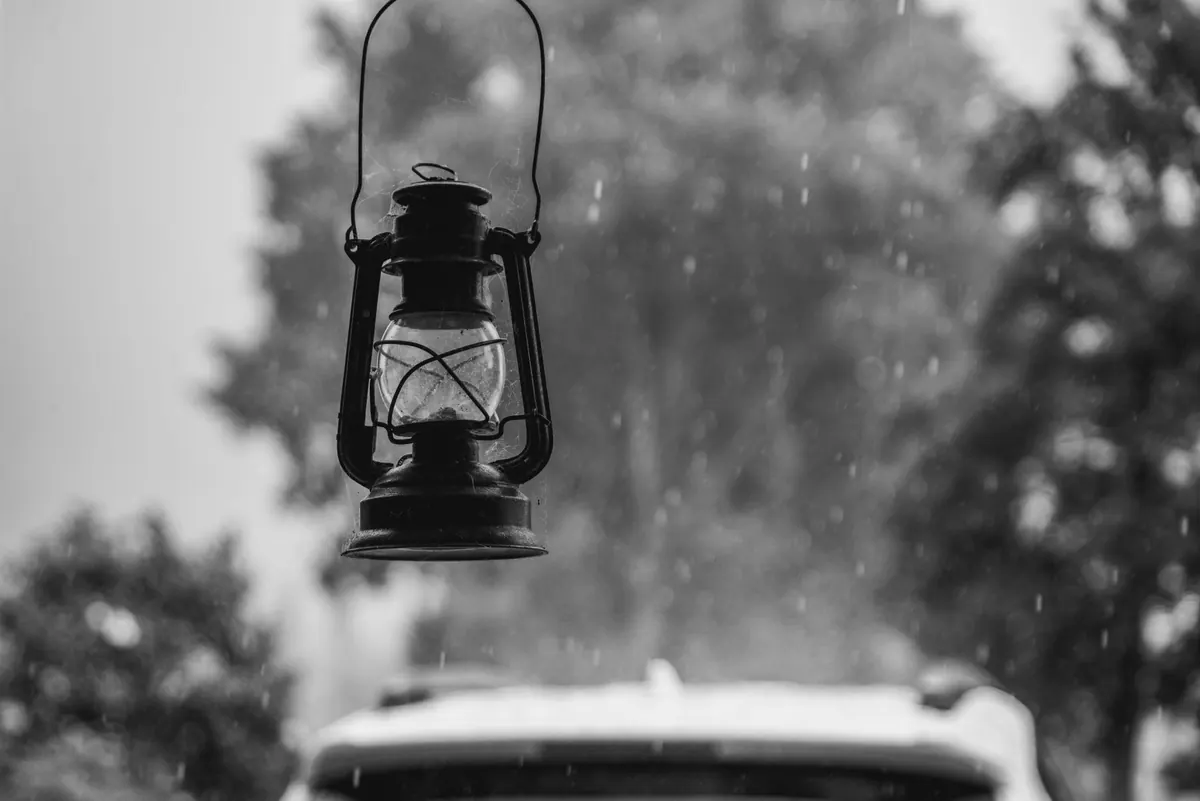
An outdoor lantern that looked flawless all summer can fail its first hard frost. Water slips past a gasket that stiffened in the July heat, pools in the socket, and by January you have a fixture that flickers, trips a breaker, or rusts from the inside out. Fall is the window to deal with it: the weather is still workable, daylight lasts long enough to see what you are doing, and two hours now beats replacing the whole lantern in February.
Work through the list below in order. Most porch and post lanterns need a screwdriver, a rag, and one dry afternoon.
Pick a day with no rain in the forecast and, ideally, a couple of dry days behind it. Water hides in the seams of a wet fixture, and you will misread the damage. Kill the power at the breaker before you touch anything — not just the wall switch. Switches fail, and a wet fixture is exactly where you do not want to find out.
Take a photo before you disassemble anything. Glass panels, finials, and mounting brackets only go back together one way, and a phone photo saves you ten minutes of guessing. As you open the lantern, look for the evidence that matters: chalky white mineral lines along the glass, rust-colored streaks below a screw, a socket that smells faintly burnt, or a puddle that never drains. Those three or four clues tell you which of the sections below needs your attention first.
Gaskets are the rubber, silicone, or cork rings sitting between the glass and the housing, around the socket, and where the lantern meets the post or the wall box. Heat, sun, and cold dry them out. A gasket that felt springy in June can crack like a wafer by October. Squeeze each one. If it does not spring back, replace it.
Check these points on every fixture:
Replacements are often available from the manufacturer, but if the fixture is old or unbranded, silicone gasket sheet can be cut to shape with scissors and a hole punch. When you reassemble, wipe a thin film of silicone-based dielectric grease over the gaskets. It keeps rubber from sticking to glass and drying out. Keep it off the contacts inside the socket, where it can collect grit.
Every well-built outdoor lantern has weep holes — small openings at the lowest point of the housing or the glass frame. They clog with pollen, spiderwebs, mud dauber nests, and overspray from the paint can. Clear them with a toothpick, a length of stiff wire, or a blast of compressed air. If a weep hole has been painted shut, open it with a small drill bit turned by hand.
Then check how the lantern sits against its surface. A fixture mounted dead flat against siding or a post traps water behind it. So does a thick bead of caulk run all the way around the base. Caulk three sides and leave the bottom open, so moisture that gets in can find its way out instead of soaking into the wall. Caulk is not a repair for a leaking fixture; sealing a wet lantern just holds the water inside.
Look into the socket with a flashlight. Green or white crust means corrosion, and it will only get worse. Clean it lightly with fine sandpaper or an electrical contact cleaner, then apply a small amount of dielectric grease to the threads and to the base of the new bulb. That thin film is what keeps next winter's moisture from welding the bulb in place.
Bulb choice matters more in winter than in summer. Incandescent and halogen bulbs throw heat, which helps keep condensation off the inside of the glass. LEDs run cool, so moisture lingers — which is fine if the gaskets are sound, and a problem if they are not. Whatever you install, stay at or below the wattage printed on the fixture label. If your fixtures are on a low-voltage transformer, check the enclosure for standing water and inspect any buried cable for nicks where it exits the ground. Anything that involves opening a breaker panel, tracing buried line voltage, or repairing damaged wiring is work for a licensed electrician.
Rust begins at a chip, a scratch, or a threaded hole where the finish wore through. Sand small chips down to bare metal, brush on a rust-inhibiting primer, and touch up with matching paint while the temperature is still above the product's minimum — usually around 50°F, but read the can. On cast aluminum, the white powdery oxidation is different from rust but just as ugly; a light scrub and a fresh coat of paint handles it.
Brass and copper are meant to patina, and a little green is normal. What is not normal is verdigris running down siding or stone, where it stains. If you see streaks, the finish has failed somewhere above them. For wrought iron and steel, a coat of paste wax on the metal does more for a winter than oil, which washes away in the first good rain. Swap rusted screws for stainless ones now, while they still turn, and put a dab of anti-seize on the threads so next fall's disassembly is not a fight.
Not everything outside is built to stay there. Solar lanterns, paper and fabric shades, unsealed wood, and battery-powered decorative lanterns all do better in a garage or closet than under a foot of snow. Remove the batteries first — cold drains them, and a leaking alkaline cell will destroy a battery compartment over one winter. Store the lanterns somewhere dry, not in a damp shed where mold gets a head start. Take down anything lightweight that could become a projectile in a winter windstorm, and keep snow piles and plow lines well back from low post lanterns near the driveway.
Run this in one pass and you will not think about your outdoor lighting again until spring:
Do it on a mild afternoon and the work is pleasant. Do it in a sleet storm in December and it is a chore with cold fingers and a flashlight in your teeth. The lanterns will not thank you, but they will still be lit when everything else on the porch has given up.
Photo: Daven Hsu / Pexels

A practical checklist for lakeside lantern releases: permits, biodegradable materials, written wind limits, launch...
Lumens, kelvins and CRI decide how bright a lantern feels, what color its light casts, and whether you can tell red...

Rust on an old lantern is usually surface damage, not a death sentence. Here's how to clean, polish and reseal one...


Bright ideas and beautiful lanterns for every space..
